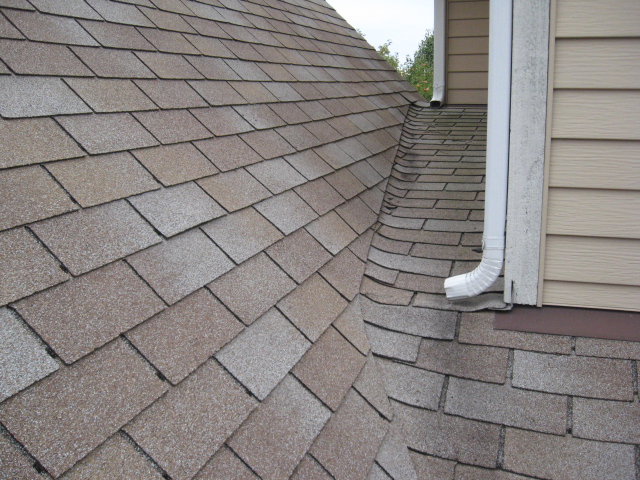
Roof Repair Installing New Shingles Cementing Tabs Down

How To Replace One Shingle 3 Tab Style Youtube

Video 13 How To Install 3 Tab Asphalt Roofing Shingles On The Shed Installing Roof Shingles Shed Plans Roofing

How To Shingle A Roof Roof Repair Diy Diy Roofing Home Repairs

How To Shingle A Shed With 3 Tab And Architectural Shingles Architectural Shingles Installing Roof Shingles Shed

How To Shingle A Shed With 3 Tab And Architectural Shingles Installing Roof Shingles Architectural Shingles Shed
Replacing And Repairing Composition Shingles Roof Rocket

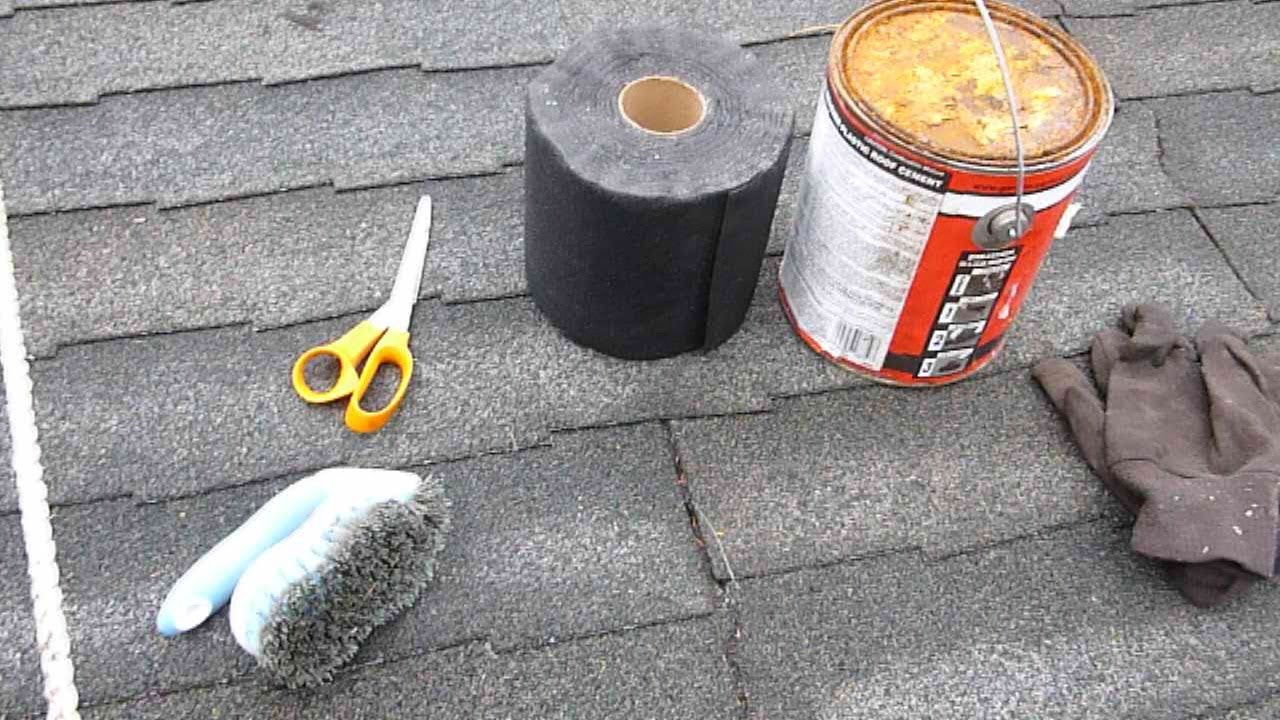
Press the tabs of the new.
Roof repair installing new shingles cementing tabs down.

Installation Tips For Asphalt Shingle Roofs Norbord North American Products

How To Shingle A Roof 90 Pics Pro Tips Recommendations Diy Roofing Roof Repair Roofing

How To Build A Lean To Shed Complete Step By Step Guide Lean To Shed Lean To Building A Shed

California Cut Valley Installation Trick Roofer Training Youtube

Roof Repair Cost Minor Major Repairs 2020

Certainteed Patriot Shingles In Graystone Roofing Shingles Roofing Roofing Diy Certainteed

How To Replace Or Repair A Damaged Shingle By Roofingintelligence Com Youtube

Fantastic Tips For Maintaining The Roof Of Your Home Home Roofing Tips Roof Problems Roofing Roof Replacement Cost
Pin On Diy Home Repair

How To Roof A Shed Roofing A Shed Building A Shed Installing Roof Shingles Shed Interior

Watergate Roofing Don T Wait To Replace Your Roof Click The Photo To Read The Article Don T Wait To Replace Your Roof Roofing Watergate Roof

Shingle Roof Repair Hide Nails By Placing The End Of The Pry Bar Over Them And Hitting It Farther Down The Shank Of T Roof Repair Roof Restoration Roof Damage

Gaf Royal Sovereign Weathered Gray Algae Resistant 3 Tab Roofing Shingles 33 33 Sq Ft Per Bundle 26 Pieces 0202880 The Home Depot Architectural Shingles Shingling Architectural Shingles Roof

Pin On Shingle
How To Repair A Leaky Asphalt Shingle Roof Youtube

Diy Roof Maintenance Checklist And Roof Repair For Shingles With Photos Part 2 Installing Shingles Roof Maintenance Shingling

Owens Corning Oakridge Shingles Beachwood Sand Roof Shingles Architectural Shingles Shingle House

Weathered Stone Tile Roof Shingles Textured Background Photographic Print In 2020 Slate Roof Roof Colors Shingling
1

How Much Does A New Roof Cost

Pin On Ants

Malarkey Laminate Weathered Wood Residential Siding Roofing Flat Roof Extension

Cost To Have Roofing Shingles Installed Estimates And Prices At Fixr Roof Repair Roof Restoration Diy Roofing

Tip On Laying Out Architectural Shingles Architectural Shingles Roof Roof Shingles Roof Shingle Colors
Source : pinterest.com
